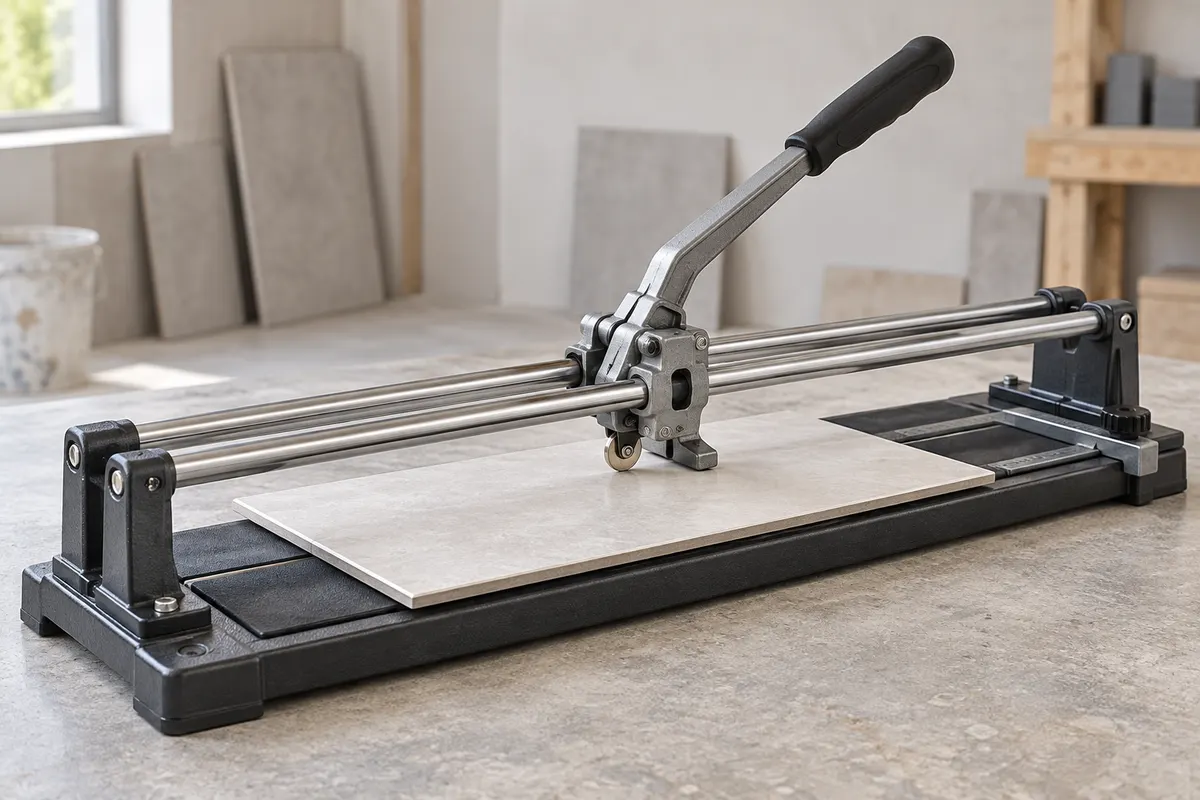
A REPEATABLE METHOD
How to use it
- Check cutter and scoring-wheel suitability for the actual tile material, thickness and required straight or diagonal span.
- Set the cutter on a stable surface, clean the bed and rails as the manual allows, and support large tiles without bending them.
- Measure and mark a spare tile. Check fence alignment against the mark; remember the visible face and waste side.
- Make the scoring pass and place the breaker exactly as the model manual specifies. Use controlled pressure, not repeated improvised scoring or body weight.
- Inspect a trial edge and its finished dimension. Smooth sharp edges by an approved method; keep a trial piece for comparison before cutting the visible batch.
INTERPRET THE MEASUREMENT
How to read the result
- A listed straight cutting length is not the diagonal tile side capacity.
- A good trial on one tile does not guarantee every texture, thickness or batch will separate cleanly.
- A narrow edge strip in the grid calculation may be outside the cutter’s practical capability; change the verified layout or use a suitable alternative method.
Work through an example
Illustrative situations and readings, not product tolerances. Follow the instructions for your own tool.
A chipped trial cut is a reason to check before cutting the batchOpen the worked exampleClose the worked example
A spare tile from the intended batch is marked and cut with a compatible manual cutter. The fictional trial breaks away from the mark near the end and leaves a chipped visible edge.
Before you start
- Check the actual tile type, thickness and cut length against the model instructions.
- Check the wheel, support surface, guides and permitted scoring method.
- Use eye protection and a spare tile; keep fingers clear of the scoring and breaking areas.
Example notes
- Trial material
- Spare tile from the same batch
- Break near the end
- Departs from the marked line
- Visible edge
- Chipping remains
What this tells you
The trial has not produced the intended finish. Nominal cutter capacity does not guarantee every material, narrow strip or edge result. The observations alone do not identify whether the wheel, support, technique or tile is responsible.
Your next step
Do not continue through the batch. Recheck compatibility and setup, make only instruction-permitted corrections and repeat on scrap. If the required edge remains unattainable, choose a manufacturer-approved alternative method.
Do not conclude: Do not hide a chipped visible edge in the quantity estimate or assume that extra force will correct any failed break.
Method reference: RUBI: tile cutter materials and capacity
TROUBLESHOOT THE METHOD
Common problems and what to check
Break wanders off the score
Check wheel, tile suitability, bed cleanliness and model-specific breaker placement. Try a spare tile; do not increase force indefinitely.
Tile chips at the visible face
Inspect the wheel and technique. Reject a damaged exposed edge rather than hide it with an uncontrolled joint width.
Required cut is a notch or very narrow strip
Choose an appropriate cutting method with its own dust and safety controls; do not twist the tile against the rails.
STOP BEFORE THE HAZARD
Safety boundary
- Wear eye protection and handle sharp tile edges with suitable protection.
- Keep fingers away from the scoring wheel and breaker; support both sides of the tile.
- Manual cutting is not an excuse to grind tiles dry without appropriate dust controls. Follow the alternative tool’s safety procedure.
SMART BUYING GUIDE
What to look for when choosing
- Test the actual tile where possible, and check diagonal as well as straight capacity.
- Check wheel compatibility and availability, rail rigidity and large-tile support.
Types of tool
Best for: Compatible smaller tiles within verified thickness and cut limits.
Best for: Larger compatible tiles; rail length alone does not guarantee successful narrow cuts.
Common functions
Worth paying more for
- Stable fence, appropriate wheel and rigid supported bed.
- A model whose manual clearly states material and thickness limits.
Usually not worth the extra cost
- Breaking-force numbers treated as universal material compatibility.
- Claims that one manual cutter makes every hole and corner notch.
Sources & instructions
AI-generated topic illustration; do not use the depicted scale for measurements.
Put the measurements to work
Build a checkable room finish take-off from measured surfaces, declared product coverage and explicit rounding decisions.
Plan flooring and wallpaper without hiding wasteSeparate measured area, effective product coverage, layout allowance and whole-pack purchasing.