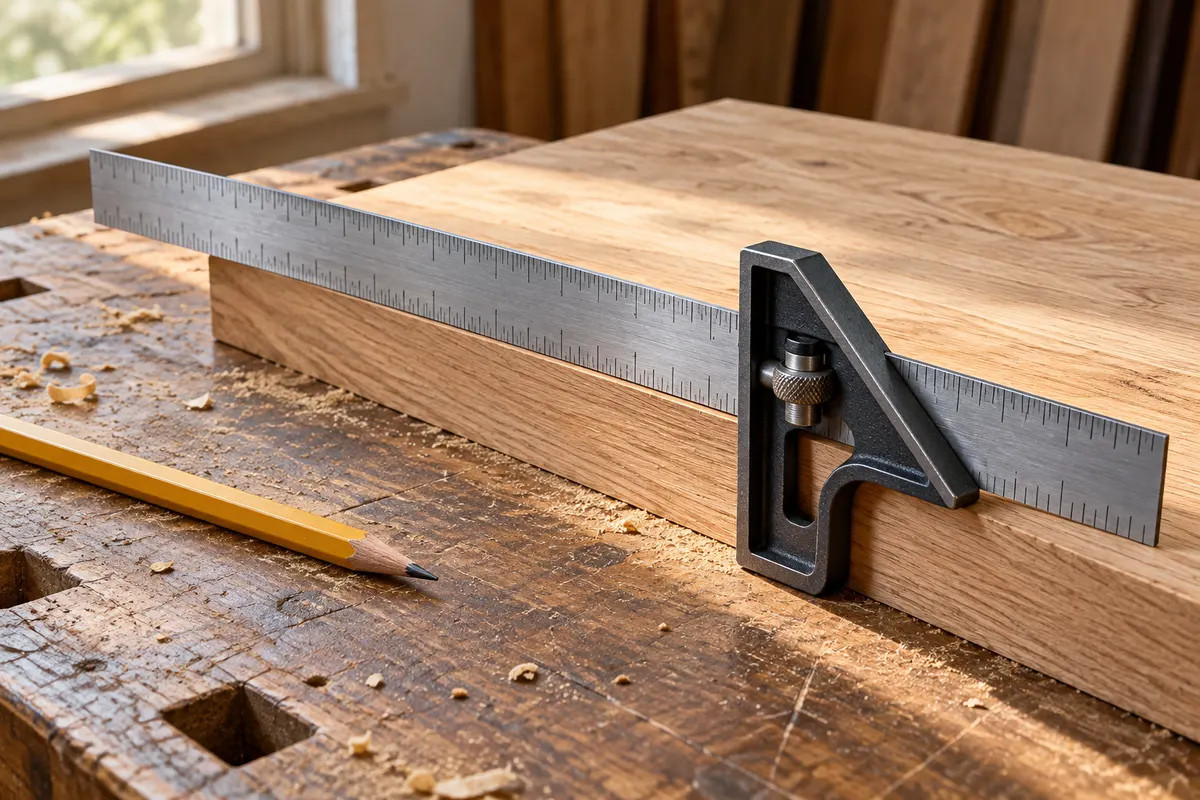
A REPEATABLE METHOD
How to use it
- Support the workpiece and choose a straight, clean reference edge; remove loose debris and inspect the head and blade.
- Assemble and adjust the blade according to the model instructions; lock the head at the required position without excessive tightening.
- Seat the selected reference face fully against the edge, with the blade flat on the workpiece.
- Make a fine pencil mark, then recheck the reference and setting before repeating it or cutting.
- For critical work, check the tool against a reliable square reference. A flip-line check on a straight edge can reveal disagreement, but is not a calibration certificate.
INTERPRET THE MEASUREMENT
How to read the result
- The square face and miter face provide different references; check which face is actually seated.
- The blade scale can support offset or depth checks, but readings depend on the head setting, units and contact.
- A bowed board edge, burr or loose head can produce a wrong line even with a well-made square.
Work through an example
Illustrative situations and readings, not product tolerances. Follow the instructions for your own tool.
Check a repeated offset before cuttingOpen the worked exampleClose the worked example
Transfer a 20 mm pencil offset from one clean, straight board edge using the locked square head.
Before you start
- Mark the reference edge and support the board.
- Set and lock the head, then seat its reference face fully.
- Check the marks against the same edge with an independent rule before any cutting.
Example notes
- Checked mark 1
- 20 mm
- Checked mark 2
- 21 mm
- Checked mark 3
- 20 mm
What this tells you
The middle mark disagrees by 1 mm. Averaging the marks does not repair a layout line. Check seating, debris, the lock and marking technique.
Your next step
Re-establish the setting and re-mark the suspect line; verify every critical mark. A consistent offset does not prove the entire board is square.
Do not conclude: Do not cut from the suspect line or use a local square check as a structural acceptance test.
Method reference: Starrett: combination square instructions
TROUBLESHOOT THE METHOD
Common problems and what to check
Repeated marks differ
Recheck the locked head, blade seating and same reference edge; do not average away a loose setting.
The flip lines diverge
Check the reference edge and marking technique, then compare with a reliable square. Set a suspect tool aside for accurate work.
The head will not slide smoothly
Loosen the lock correctly and clean the blade groove; do not force or file the measuring faces.
STOP BEFORE THE HAZARD
Safety boundary
- Use supported material and keep the tool away from running saws, blades and moving mechanisms.
- Prefer a pencil for ordinary wood layout; protect and store any supplied sharp scriber safely.
- A correct mark does not make a cut safe. Use the cutting tool’s guards, work support and instructions separately.
SMART BUYING GUIDE
What to look for when choosing
- Check positive locking, flat contact faces, readable units and blade length.
- Buy extra center or protractor heads only if you need their distinct functions; they are not automatically included.
Types of tool
Best for: Everyday right-angle, 45-degree and offset layout.
Best for: Specific center-finding or adjustable-angle tasks after learning those heads separately.
Common functions
Worth paying more for
- A stable lock and clean accurate contact faces rather than decorative extras.
Usually not worth the extra cost
- Accessory heads that you will not use or a long blade that obstructs the work.
Sources & instructions
AI-generated topic illustration; do not use the depicted scale for measurements.
Put the measurements to work
Build a checkable room finish take-off from measured surfaces, declared product coverage and explicit rounding decisions.
Plan flooring and wallpaper without hiding wasteSeparate measured area, effective product coverage, layout allowance and whole-pack purchasing.