A REPEATABLE METHOD
How to use it
- Inspect the blade and hook for bends; clean the contact points.
- Choose a clear starting edge and keep the blade straight along the measurement, not diagonally.
- Support a long span to limit sag. Read square to the scale and repeat the measurement.
- Write the value with units and the location. Measure irregular rooms as separate rectangles.
- Check critical cut sizes twice before transferring them to the material.
INTERPRET THE MEASUREMENT
How to read the result
- Keep measured area separate from the purchase allowance; do not add waste twice.
- A sliding end hook can compensate for its thickness in push and pull measurements. Movement alone is not a defect.
- For a 3.2 m by 4.1 m rectangular floor, measured area is 13.12 m² before exclusions and allowance.
Work through an example
Illustrative situations and readings, not product tolerances. Follow the instructions for your own tool.
Measure an opening at more than one heightOpen the worked exampleClose the worked example
Survey an accessible furniture opening. Do not assume the sides are parallel or order a part from one reading.
Before you start
- Use the same left and right faces, not trim in one reading and the wall in another.
- Keep the blade straight and support it without bending the hook.
- Repeat the narrowest position and label the heights.
Example notes
- Top width
- 803 mm
- Middle width
- 800 mm
- Bottom width
- 801 mm
What this tells you
The narrowest recorded width is 800 mm, not the average of the three widths. These readings do not check depth, diagonals or installation clearance.
Your next step
Record all three widths and repeat the middle reading. Measure depth and any obstructions; obtain the product’s fitting clearances before selecting its size.
Do not conclude: Do not order an 800 mm item on the assumption that an 800 mm opening leaves enough installation space.
Method reference: STANLEY: tape hook
TROUBLESHOOT THE METHOD
Common problems and what to check
Push and pull readings disagree.
Inspect the hook for damage or debris and compare against a reliable reference. Do not tighten a deliberately sliding hook.
Repeated measurements differ.
Check blade alignment, sag and starting point; use the same units and repeat without rounding intermediate values.
STOP BEFORE THE HAZARD
Safety boundary
- Control blade retraction; keep fingers away from sharp edges.
- Do not extend a conductive steel tape toward electrical equipment or overhead wires.
SMART BUYING GUIDE
What to look for when choosing
- Choose a readable scale, comfortable lock and length suited to your room.
- Check the stated accuracy and hook condition rather than judging accuracy by blade width.
Types of tool
Best for: Rooms, furniture and short building dimensions.
Best for: Longer site distances; support and tension need care.
Common functions
Worth paying more for
- Durable readable markings and a reliable lock
- A robust hook and suitable stated accuracy
Usually not worth the extra cost
- A magnetic hook when measuring only timber and plaster
- Extra length and weight you will not use
Sources & instructions
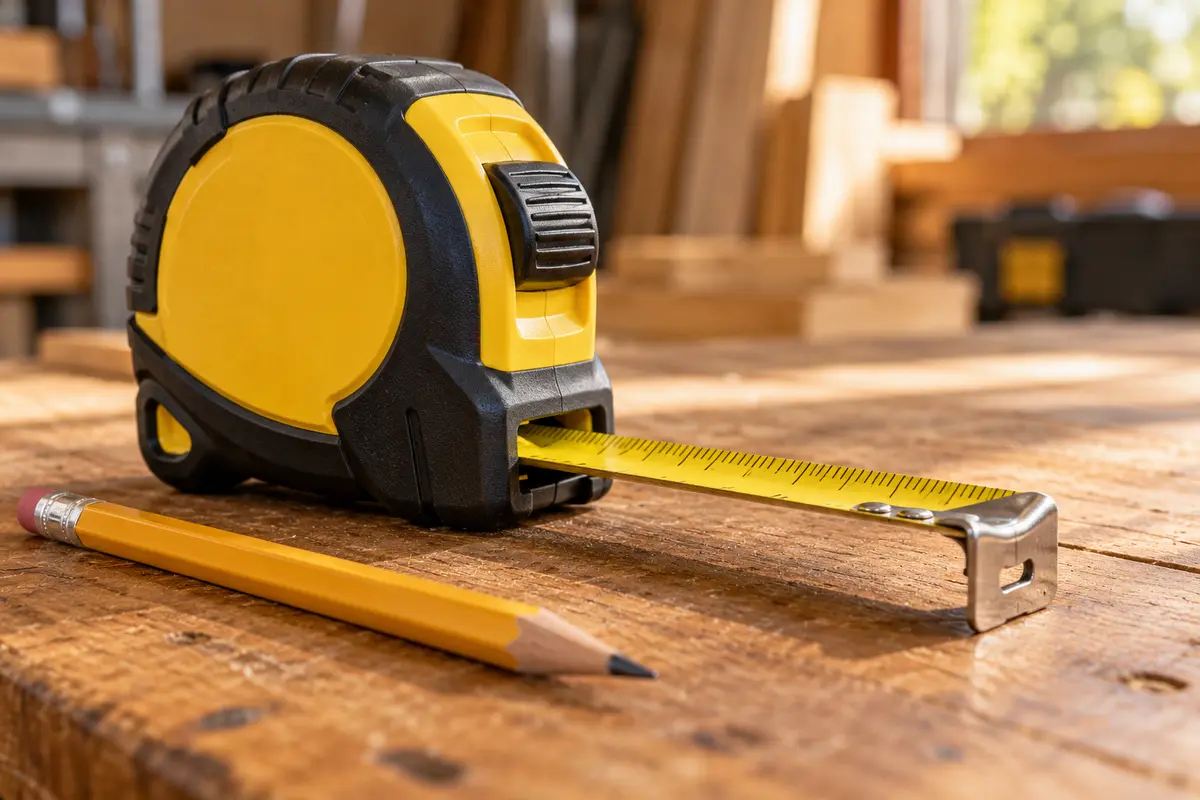
AI-generated topic illustration; do not use the depicted scale for measurements.
Put the measurements to work
Separate frost protection, pipe cover and structural foundation design before digging.
Plan a septic system around the site.Understand the tank, soil treatment area, hydraulic load and maintenance obligations.
How much rainwater can your roof collect?Estimate catchment yield, understand storage limits and keep rainwater separate from drinking water.