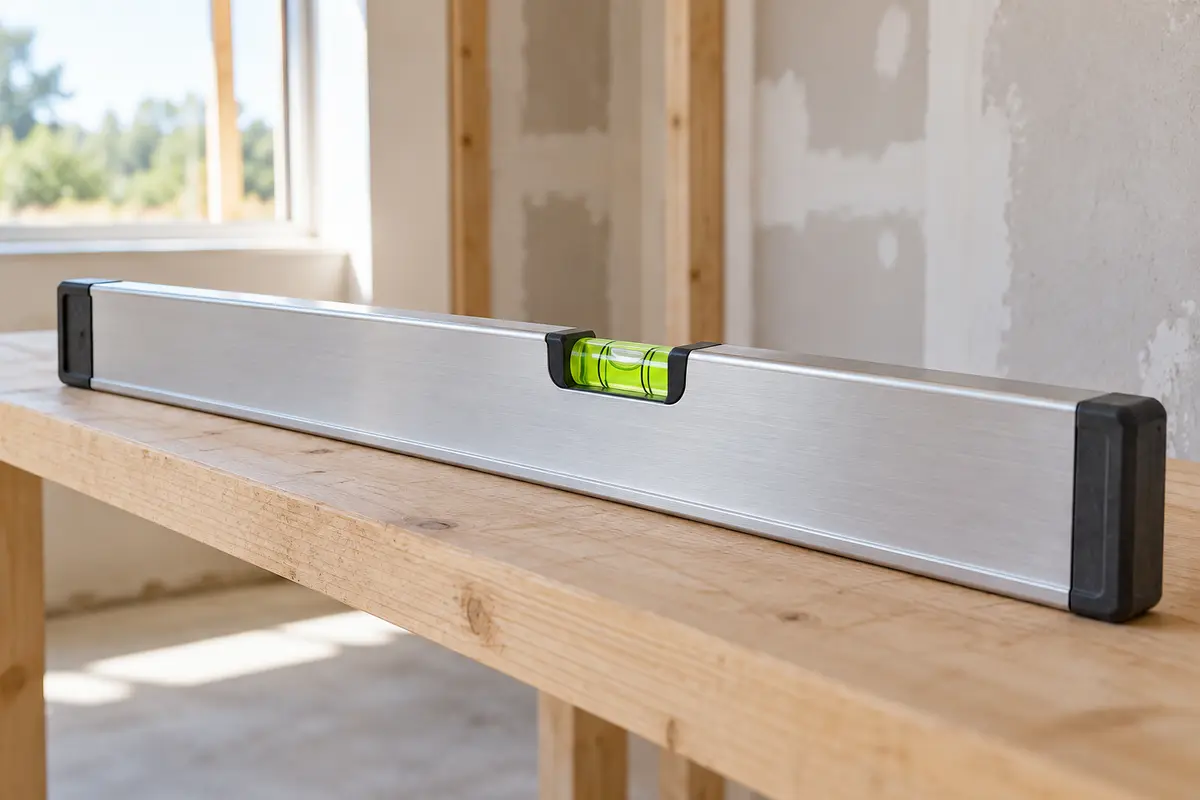
A REPEATABLE METHOD
How to use it
- Wipe the measuring face and supporting surface; check that the body is straight.
- Use the correct vial and designated measuring face, with stable contact.
- Read the bubble square-on after it settles.
- For a horizontal check, mark its position, turn the level end-for-end and return the same face to the same line. Compare the bubble position relative to the surface.
- If the check disagrees, consult the maker or replace the tool; do not adjust a sealed vial by guesswork.
INTERPRET THE MEASUREMENT
How to read the result
- A central bubble indicates level within the instrument tolerance, not perfect mathematical alignment.
- A short level can miss a wider bow. Check several positions or use a suitable straightedge.
- For a required fall, use rise over horizontal run; do not estimate a numeric slope from an uncalibrated bubble offset.
Work through an example
Illustrative situations and readings, not product tolerances. Follow the instructions for your own tool.
Check the tool before adjusting the shelfOpen the worked exampleClose the worked example
A supported shelf shows an off-centre horizontal bubble. First check whether the reading repeats after reversal.
Before you start
- Clean both contact surfaces and mark the level’s exact position.
- Turn it end-for-end on the same measuring face and return to the marked line.
- Compare the bubble relative to the same physical end of the shelf, not “left” on the instrument.
Example notes
- First position
- Bubble toward marked end A
- After reversal
- Bubble still toward end A
- At another position
- Check separately for local bow or uneven contact
What this tells you
The same offset relative to the shelf supports a local tilt reading. If the reversal disagrees, recheck contact and the instrument before changing the shelf. This is not a numerical slope measurement.
Your next step
Note the marked position and reversal result. Check other supported positions and follow the manufacturer’s procedure if the results disagree.
Do not conclude: Do not calculate millimetres of fall from an uncalibrated bubble offset or try to adjust a sealed vial by guesswork.
Method reference: STABILA: checking a spirit level
TROUBLESHOOT THE METHOD
Common problems and what to check
The bubble changes after reversal.
Repeat on a clean stable surface and check for body damage. Follow the manufacturer’s verification procedure.
A shelf seems level but rocks.
Look for local high spots, debris or a bowed surface; check contact rather than pressing the level flat.
STOP BEFORE THE HAZARD
Safety boundary
- Do not stand on unstable furniture to reach a high surface.
- A level is not a hammer or lever; impacts can damage its body and vials.
SMART BUYING GUIDE
What to look for when choosing
- Select length for the surface and check specified accuracy in the orientation you use.
- Choose readable protected vials and a straight durable body.
Types of tool
Best for: General household alignment.
Best for: Confined spaces and short fittings.
Best for: Repeated numeric angle or slope measurements when calibrated.
Common functions
Worth paying more for
- A rigid straight body and readable protected vials
- Accuracy specified for intended orientations
Usually not worth the extra cost
- Magnets without steel work
- A digital display for occasional shelf alignment
Sources & instructions
AI-generated topic illustration; do not use the depicted scale for measurements.
Put the measurements to work
Turn a required grade into invert levels while protecting cover, access and the downstream system.
Estimate a concrete order without hiding the assumptionsSeparate drawing dimensions, geometric volume, allowance and supplier constraints.
Size the roof-drainage path from rainfall to safe dischargeConnect roof area and design intensity to gutters, outlets, downpipes and foundation drainage.